How to add or replace images in the template Image Gallery?
In this article, we will list down the steps to add or replace the images in the built in gallery for our templates. Before you add new product images to the gallery, you will need to upload the images to an external image hosting service before you can use the images. You can either upload the images to a free or paid image hosting service or upload them to your own server.
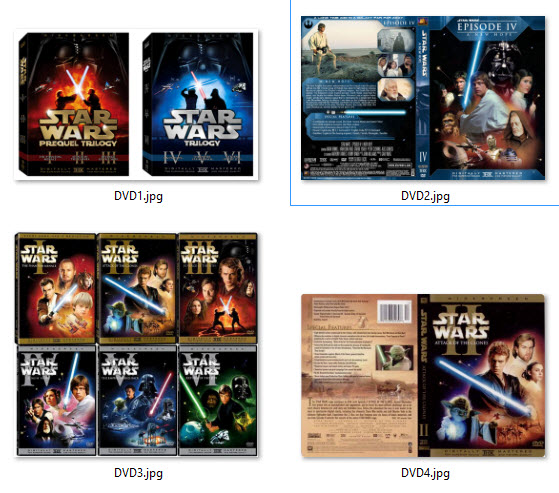
For this demonstration purpose, we will use a popular free images hosting service to host our product images. In this demo, we will be selling a Star Wars DVD set. And we have the following images which we want to add to the gallery,

And we have chosen ImageShack.us as our free image hosting service due to the popularity and the user friendliness that ImageShack.us has provided. Thus, we are choosing ImageShack.us for our demonstration.
Now follow the following steps on how to add or replace the product images in our template. Before we start, take note that we are using the “Coins” template as an example and we will be using ImageShack for hosting our product images.
1. Upload all your Star Wars DVD product images to ImageShack. (Follow the steps provided in ImageShack for instruction on how to upload your images at ImageShack.us)
2. Once you uploaded all the images to ImageShack, retrieve the image link for each of the product image. We have retrieved all the four product images which are,
* http://imageshack.us/a/img546/6643/dvd1c.jpg
* http://imageshack.us/a/img507/4825/dvd3o.jpg
* http://imageshack.us/a/img221/6959/dvd4.jpg
* http://imageshack.us/a/img217/9057/dvd2in.jpg
3. Now edit the Coin template HTML and find the following code, (If you need help on how to copy and paste the templates to your eBay listing, please refer to this instruction)

4. Notice the code between <!– Place your first set of thumbnails here –>
Each line above will represent an image which placed in the gallery. Since we have four product images, then we don’t need to have 8 different lines of code. So what we will need to do is to remove the four lines and replace the existing four so it link correctly to our product images.
5. Let us remove the 4 images and replace the other four so it can link to the correct images which we want it to show up in the template gallery. Once we did that, our gallery code will become as follow,

* Notice the changes we made? All you need to do is to replace the link quoted within the <img src=”LINK”> and put your product image link in there instead.
The same steps apply if you want to add more images, to add new images to the gallery, just created another line of code. For instance now if we have a fifth star wars DVD product image which we want to add to our gallery, we just need to add a new line of code like below,
<!– Place your first set of thumbnails here –>
<li><a href=”#”><img src=”http://imageshack.us/a/img546/6643/dvd1c.jpg” /></a></li>
<li><a href=”#”><img src=”http://imageshack.us/a/img507/4825/dvd3o.jpg” /></a></li>
<li><a href=”#”><img src=”http://imageshack.us/a/img221/6959/dvd4.jpg” /></a></li>
<li><a href=”#”><img src=”http://imageshack.us/a/img217/9057/dvd2in.jpg” /></a></li>
<li><a href=”#”><img src=”http://imageshack.us/a/img217/9057/NEWPRODUCTIMAGE.jpg” /></a></li> // NEW LINE OF CODE
<!– Place your first set of thumbnails here –>
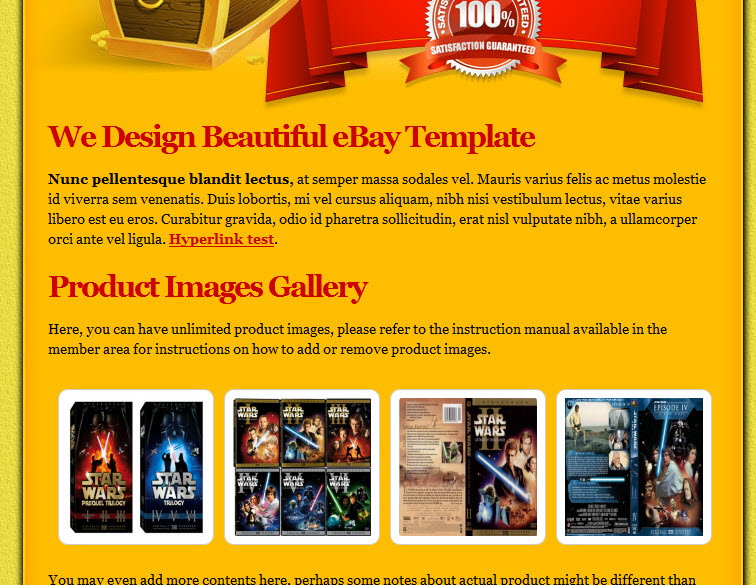
6. Once we updated everything, the template will automatically update itself and our new Star Wars DVD images will be shown like below,
